7 Mobile Photography Tips Every Photographer Should Know
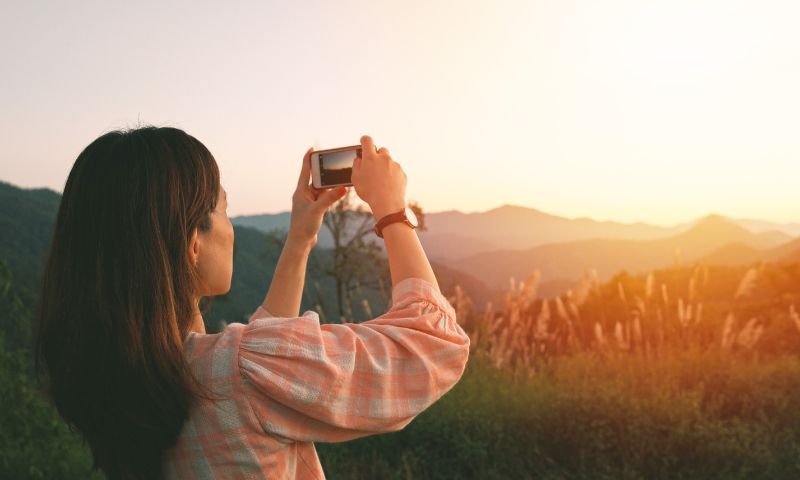
In the age of Instagram and the smartphone, hardly anyone needs a DSLR to capture stunning photos. We all have the perfect tool to capture breathtaking shots, be it a beautiful selfie or a photo of the sunset.
Sadly, not everyone knows how to navigate the confusing world of mobile photography, and people end up confused when they open their phones and can’t immediately take masterful photos. You might have wondered if all the people claiming they took their photos with their phones were lying. After all, this wouldn’t be the first time someone on the internet lied, right?
The good news is, they’re not lying. They just know how to adjust the camera settings on their phones, and do so every time they take a new photo. Sticking to the default settings will only get you so far, so let’s talk about how to take breathtaking photos with your phone!
1. Adjust Exposure
When taking your photos, giving them too much exposure can make them look too bright, and too little can make them too dark. Take your photos with the right exposure settings, or glow up every photo after you take it with a good selfie editor or a photo editor. Yes, both these things are different. Selfie editing apps have features dedicated to making people look good, but there’s only so much a photo editing app would do for you!
If you want to take silhouette photos, dial the exposure down real low, and every figure in the photo (especially the ones farther away seem dark). On the other hand, you can make shots from inside a cave or in dim lighting look great by increasing the exposure.
2. Use HDR
Sometimes though, one exposure setting doesn’t work for your whole photo. What if you’re trying to capture a landscape that has both bright parts and dark? If you face such a dilemma, opt for the HDR setting in your camera. Every smartphone to come out in the last few years has this, so you should be able to find it easily.
When you take a photo in HDR, you ensure that the end result is a clean, sharp photo with equal exposure on all fronts.
While we’re on the topic of exposure, don’t hesitate to break these rules if you feel like the end result would be better!
3. The Rule of Thirds
When taking your photos, try making them a little asymmetrical. That means if you have a central object, put it in 1/3rd of the frame instead of putting it smack in the middle. This can create stunning results, and it looks better, believes it or not.
This is a great tip to try when you’re shooting landscapes and horizons, but if the subject of your shoots is perfectly symmetrical itself, you can create stunning photo effects by putting it in the center.
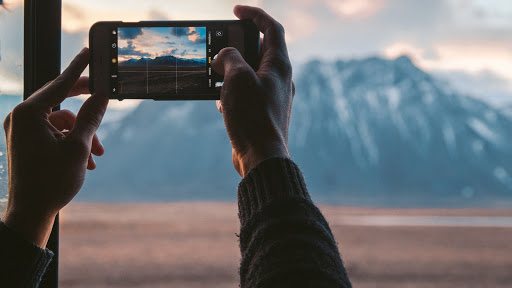
Use the grid function in your camera app to help you stick to this symmetry.
4. Burst Shots
If you’re taking photos of moving objects or want to capture a particular motion, you can use the burst shot the feature in your phone camera to capture a lot of images in quick succession. At least one of those photos is bound to be the perfect one, and you can delete the rest later.
5. Portrait Mode
If you’re having someone else take your photos, or taking the photos yourself, we suggest using the portrait mode. With its help, you can take shots with the person in the center. Anything in front of or behind them will look blurred out.
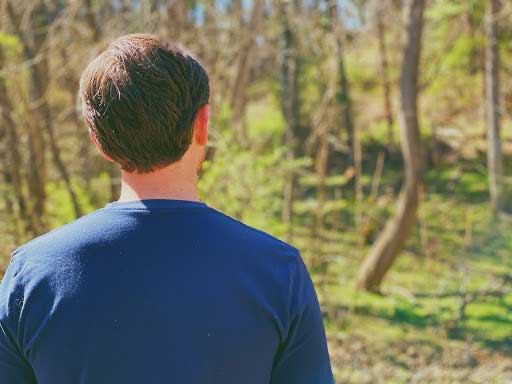
In many of the newest phones, you can even control later how blurred you want the background to be.
6. Focus Your Camera
Your camera’s autofocus might not be your best bet if you want sharp results on your photos. To combat this, you can manually focus your camera where you want it to. Just tape where you want the focus to be and a yellow or white square will appear in the area.
Now, this is not to mean that everything else in the shot will be blurry, but that the camera will be placing focus on all the right spots!
7. By using AI technology
You can also try to use our AI technology to enhance and make your photos look better.
Upscale your image: By using the AI Image Enlarger, you can upscale the small image from your friends while preserving the high quality. Send it back and surprise your friends.
Sharpen your blurry image: By using the AI Image Sharpener, you can fix the blurry pictures which are old or low in quality.
Enhance the color: By using the AI Image Enhancer, you can make the contrast and color quite different. It is simple and no Photoshop skills required.
8. Hold It Steady!
If you’re taking photos during the day or in good light, shaking won’t be a big issue. That’s because the exposure time for your camera would be pretty short, and the results will always be sharp and clear. You won’t be this lucky in the dark though.
The camera shutter takes its time in the dark, and even the tiniest movements while taking the photo can really shake things up. To combat this, try leaning against an object for support, like a wall or a tree, or taking photos with a tripod.
One last tip we’ll give you is to never expect to take the perfect photo on a single try. Behind each and every perfect photo you see online and on Instagram, there are at least a dozen photos that were placed in the bin. Go out there and experiment with all kinds of settings – you’ll know when to hit that shutter button when it feels right!