Enlarge pixel art graphics-Photoshop vs. AI Image Enlarger
In this article, I will review two tools to enlarge pixel art graphics without blurring, Photoshop vs AI Image Enlarger. I will test each one of them with the same pixel art image, and compare how easy they are to use, the quality of the result, and the time needed to finish the process.

Pixel art graphics are often a small size. Some of you may want to enlarge them for other uses. However, when you try to scale the image up, the graphic usually becomes blurry and unusable. This article will introduce you to two image upscalers and compare their three aspects to solve the problem best.
Easy to use
In this part, I will give detailed steps of using each tool to compare the ease to use.
Photoshop
Step 1: Launch Photoshop, then open the document you want to resize.

Step 2: Now, go to Image -> Image Size to change the size of the image. You can also access this option by pressing Alt + Ctrl + I on the keyboard.

Step 3: After the image size window opens, you can change the width and height of the file. Make sure to select Constraint Ratio so that when you fill in other information, Photoshop can automatically fill in the appropriate image width or height. This is optional. However, it is recommended that you do this to scale the image correctly.

Step 4: Click the drop-down menu at the bottom of the "Image Size" window and change the option to "Nearest Neighbors" (preserve hard edges).
Step 5: Click OK to start resizing the image. The result should come with correctly scaled pixels.
AI Image Enlarger
Step 1: Search AI Image Enlarger in Google, and go to the official website: https://imglarger.com/
Step 2: On the main site, you can see a box. Drag and drop your image into the provided box. Another option is to click the button and select the image in your folder to enlarge.

Step 3: Choose the size scale that you want to increase.

Step 4: Click ‘Start’. After a few seconds, you can download the upscaled pixel art graphic into your device.

Through the comparison, it is obvious that Photoshop needs professional knowledge and skill to do the work. Image Enlarger is more user-friendly. Even novices can handle this program in mere seconds. Furthermore, Photoshop needs 5 steps to complete the work. AI Image Enlarger only needs 4 steps.
Quality
Now let’s see the most important part, the quality of the enlarged result. I use exactly the same pixel art graphic to test each program to show the difference.

800*798, this image is processed by Photoshop
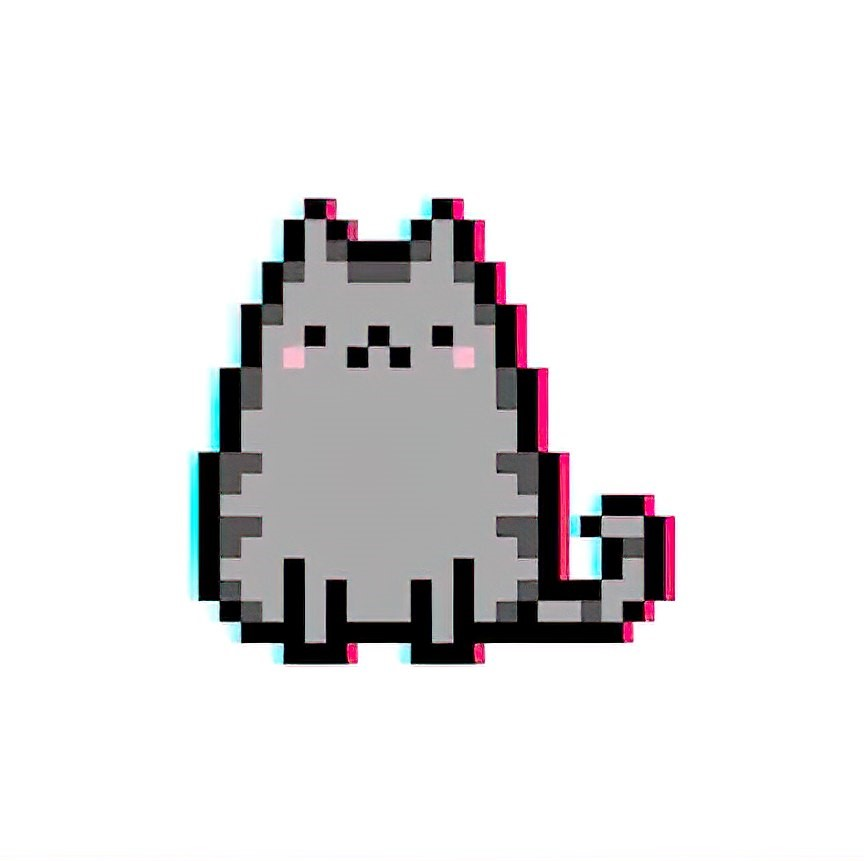
864*861, this image is processed by AI Image Enlarger
The first one is processed by Photoshop, and the second one is processed by AI Image Enlarger.
It’s not hard to see the difference between these two images. AI Image Enlarger’s outcome’s size is even bigger than Photoshop’s( AI Image Enlarger’s outcome’s size: 864*861, Photoshop’s: 800*798). However, it is obvious that the quality of AI Image Enlarger’s output is better than Photoshop’s.
Timing
I’ve timed the whole process for each tool. In this section, I will compare each program's time to complete the mission.
Photoshop: on the premise that you have installed Photoshop, the whole process takes 3 minutes. If you don’t have Photoshop on your computer, you must install that first. That will take longer.
AI Image Enlarger: no need to install. It is an online tool. This program completes the work within 1 minute.
Obviously, AI Image Enlarger is more efficient, therefore, more suitable for people who need results urgently than Photoshop.
Conclusion
In general, AI Image Enlarger has a better performance than Photoshop. AI Image Enlarger is more user-friendly, the better quality results, and also is a real-time-saver tool. If you want a tool to enlarge pixel art graphics, I recommend AI Image Enlarger. If you are looking for a fully-featured image editing tool, Photoshop is more suitable.