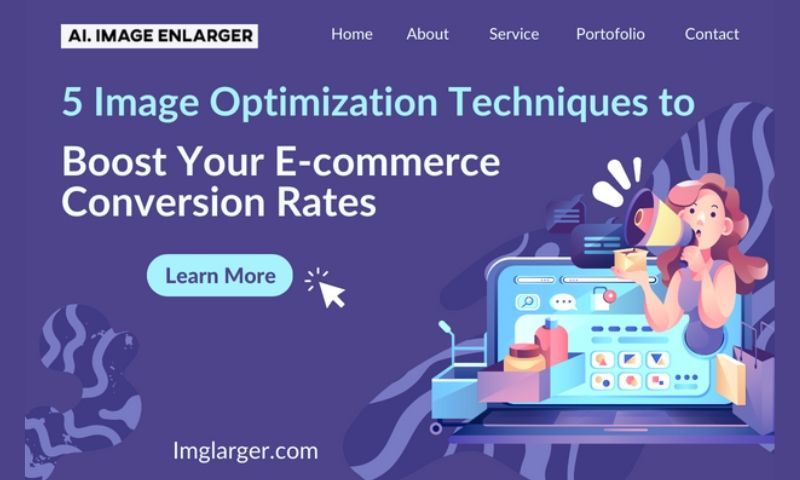
5 Image Optimization Techniques to Boost Your E-commerce Conversion Rates
Countless studies have shown that a faster website correlates with better ranking and increased conversions.
In fact, research conducted by Portent concluded that:
A site that loads in 1 second has a conversion rate 3x higher than a site that loads in 5 seconds.
That sounds terrific, but you might be asking yourself:
What should I optimize first? Images. Why?
Because according to the Web Almanac, images are the biggest contributors to page weight across the internet. Hence, they will have the most significant impact on your load times.
In the following paragraphs, you will find the top five image optimization techniques to help your eCommerce business increase conversion rates and drive more sales.
Let’s get straight into the first one.
Technique 1: Compression
Images are an essential part of any eCommerce store since they are the assets that provide visual appeal to engage customers.
However, high-resolution images can slow down your site, which can negatively impact user experience and ultimately lead to a drop in conversions.
Enter image compression.
Image compression is the process of reducing the size of an image file without compromising its quality.
Applying compression removes unnecessary data from the image file, such as metadata, color information, and pixels. All things that are not visible to the human eye. But the result of compressing images is something your visitor will appreciate – faster load times and better user experience.

Compressed images also reduce the amount of bandwidth required to load the page, which is especially important for users with limited internet access or browsing on mobile devices.
When it comes to implementing image compression, there are a few best practices to follow:
- Serve images in next-gen format. WebP and JPEG 2000 are considered next-gen image formats as they offer better compression than the more common JPEG and PNG. However, it’s important to note that not all browsers support these formats, so providing fallback options for users with unsupported browsers is essential.
2. Adjust image quality settings. When compressing images, striking the right balance between quality and file size is essential. A lower-quality setting will result in a smaller file size but may also result in a loss of image detail.
3. Use image optimization tools: Many image optimization tools are available that can automatically compress images for you. Some popular options include NitroPack, TinyPNG, and Cloudinary.
Technique 2: Size and Resolution
Every website owner wants super sharp, high-quality images.
But:
Large, high-resolution images take longer to load. Hence, optimizing their size can reduce your store’s load time.
Appropriate image sizing can ensure that your website is responsive and compatible with various screen sizes.
In some cases, images without dimensions can also cause layout shifts, negatively affecting your Core Web Vitals.
Here are some best practices for sizing your images:
- Choose the appropriate dimensions. Consider the layout of your website and the device sizes your customers are likely to use. You should also ensure that your images maintain their aspect ratio so they don’t appear distorted.
2. Optimize image resolution. Aim for a resolution of 72 PPI, which is standard for web images. For product images, a resolution of 150 PPI can be suitable, but test to see what works best for your website.
3. Use image compression. Back to square one. Even after sizing your images appropriately, you may still need to compress them to ensure they load quickly.
Technique 3: Responsive Images
There’s something we, as website owners, often forget:
Users access websites from mobile phones, tablets, small laptops, and PCs. They all have different screen sizes and resolutions. That’s why it’s important to have responsive images that adapt to every device so we can ensure the optimal experience.

Responsive images can also help speed up your site, as smaller screens require smaller images, hence, faster loading times.
So yes, if you’ve wondered if it’s worth the effort – it is.
And these are some of the best practices for adding responsive images to your store:
- Use flexible image sizes. Use adjustable sizes that adapt to different screen sizes. This can be achieved using CSS media queries or responsive image techniques like srcset and sizes.
2. Optimize image resolution. As mentioned earlier, higher-resolution images result in larger file sizes, impacting load times. Try creating different versions of each image with different resolutions or using responsive image techniques like the “picture” element.
3. Implement adaptive image sizing. Adaptive image sizing is preemptively optimizing your images to ensure they match the containers’ dimensions across all devices. You can do it manually or rely on a service like NitroPack, which will do it automatically.
Technique 4: Lazy Loading
Image lazy loading means your images are only loaded when visible to the user rather than all at once.
This significantly reduces the amount of data that needs to be loaded since some users might need help navigating to some of your images.
Here’s how you can lazy load your images:
- Use the loading attribute. Use the loading attribute with a value of “lazy” for native lazy loading. However, keep in mind that all browsers may not support this method.
2. Use the Intersection Observer. Another method is to use the Intersection Observer, which requires adding a small amount of JavaScript code. An example of the Intersection Observer in action can be found on this website.
3. Use an automated solution. An automated solution such as NitroPack can lazy load all your images (including background images) without extra effort.
Technique 5: Image Caching
Caching is a web optimization strategy that allows you to store frequently accessed data or resources, such as images, in a temporary storage area on the user’s device or in a nearby server.
As a result, fewer requests are sent to the server, and you get a massive performance boost.
To implement caching, follow these techniques:
- Set proper cache headers. Use cache headers to control how long resources are cached and when they should expire. This can help ensure that your images are cached for an appropriate length while allowing for updates to be made when needed.
2. Use a Content Delivery Network (CDN). A CDN improves web performance by caching resources in multiple locations worldwide. This can reduce the distance resources need to travel and improve load times for users in different regions.
3. Implement browser caching. You can enable browser caching for static resources such as images, CSS, and JavaScript files, which can improve page load times.
Bonus Techniques for Better Image SEO
Apart from playing a vital role in your site’s performance, images can significantly impact SEO.
Depending on how SEO-optimized they are, they can provide additional context to search engines about the content of a page.
Here’s how to achieve it:
Add Alt Text
Alt text (alternative text), also known as alt attributes or alt descriptions, is an HTML attribute that provides a text alternative to images on a website.

Adding alt text to images improves website accessibility for users who are visually impaired or using assistive technologies, as it allows them to understand the content of images they may not be able to see.
Additionally, alt text can impact your SEO ranking, as search engines use alt text to understand the context of an image and its relevance to the page’s content.
Using descriptive and relevant keywords that accurately reflect the image’s content is essential when writing alt text. However, it’s important to avoid keyword stuffing or using irrelevant keywords, as this can harm your SEO efforts.
Best practices for writing alt text include:
- Keeping it concise and to the point;
- Using natural language;
- Removing generic phrases like “image” or “picture”;
- Avoiding keyword stuffing.
An excellent example of alt text would be:
“Red bicycle with black handlebars and a silver basket parked on a city street”
[image]
It’s descriptive and includes relevant keywords that accurately reflect the image’s content. It provides context to users who cannot see the image and search engines trying to understand the page’s content.
Optimize Image Names
Another good SEO practice is to optimize your image names.
When naming images, it’s essential to use descriptive keywords that accurately reflect the content of the image. This can help improve the relevance and authority of your website in search engine results pages.
Avoid using generic or irrelevant names like “image001.jpg”, as this can negatively impact your SEO efforts.
An SEO-optimized image name looks like this:
- Written in lowercase letters;
- Words are separated with hyphens or underscores;
- The file name is concise.
Take it away
Optimizing images on your e-commerce website will allow you to improve website speed, user experience, and rankings. But also, you will create a more enjoyable shopping experience for your customers, which will inevitably lead to increased customer satisfaction and loyalty.
All you have to do is to implement the five image optimization techniques discussed in this article:
- Compression
- Size and resolution
- Responsive images
- Lazy loading
- Caching
So, don’t wait any longer – start optimizing your images today and reap the benefits of improved website performance and increased sales.
For more on conversion rate, check out this guide.